How to Add Color Picker on Store Configuration in Magento 2
Mostly when we're developing a module and you need a way to change UI like change the background color, border color, or font color of your module/page from the admin panel at that time we'll need to add a color picker in the backend configuration.
So, in this article, we're going to guide you on how to add a color picker field in system configuration.
Before we start I assume, you have already a created custom module. If you don't have it or don't know how to create it then check out our other article How To Create a Magento 2 Module.
Let's get started !!
We hope you already have a system.xml file in your module. If you don't have it then check the below steps and create it.
Step 1: Create system.xml at app/code/Vendor/ColorPickerConfig/etc/adminhtml and paste the below code. You need to change code as per your requirement.
saveCopyzoom_out_map<?xml version="1.0"?>
<config xmlns:xsi="http://www.w3.org/2001/XMLSchema-instance" xsi:noNamespaceSchemaLocation="urn:magento:module:Magento_Config:etc/system_file.xsd">
    <system>
        ...
        <field id="select_color" translate="label" type="text" sortOrder="10" showInDefault="1" showInWebsite="1" showInStore="1">
            <label>Select Color</label>
            <frontend_model>Vendor\ColorPickerConfig\Block\Adminhtml\ColorPicker</frontend_model>
        </field>
        ...
    </system>
</config>
In the above code, you see we've used Vendor\ColorPickerConfig\Block\Adminhtml\ColorPicker block to manage the color picker in the backend configuration.
Before we create a block file we need to add color picker JS and CSS in adminhtml_system_config_edit.xml file. So, please follow the next steps to add both file links in the admin system config edit the layout file.
Step 2: Create adminhtml_system_config_edit.xml file at app/code/Vendor/ColorPickerConfig/view/adminhtml/layout/ and paste the below code.
saveCopyzoom_out_map<?xml version="1.0" encoding="UTF-8"?>
<page xmlns:xsi="http://www.w3.org/2001/XMLSchema-instance" layout="admin-2columns-left" xsi:noNamespaceSchemaLocation="../../../../../../../lib/internal/Magento/Framework/View/Layout/etc/page_configuration.xsd">
    <head>
        <css src="jquery/colorpicker/css/colorpicker.css"/>
        <link src="jquery/colorpicker/js/colorpicker.js"/>
    </head>
</page>
Now, let's create a block file to manage color picker.
Step 3: Create ColorPicker.php file at app/code/Vendor/ColorPickerConfig/Block/Adminhtml/ folder to create block file. And paste the below code.
saveCopyzoom_out_map<?php
namespace Vendor\ColorPickerConfig\Block\Adminhtml;

class ColorPicker extends \Magento\Config\Block\System\Config\Form\Field
{
    public function __construct(
    \Magento\Backend\Block\Template\Context $context, array $data = []
    ) {
        parent::__construct($context, $data);
    }

    protected function _getElementHtml(\Magento\Framework\Data\Form\Element\AbstractElement $element) {
        $html = $element->getElementHtml();
        $value = $element->getData('value');

        $html .= '<script type="text/javascript">
            require(["jquery","jquery/colorpicker/js/colorpicker"], function ($) {
                $(document).ready(function () {
                    var $el = $("#' . $element->getHtmlId() . '");
                    $el.css("backgroundColor", "'. $value .'");

                    // Attach the color picker
                    $el.ColorPicker({
                        color: "'. $value .'",
                        onChange: function (hsb, hex, rgb) {
                            $el.css("backgroundColor", "#" + hex).val("#" + hex);
                        }
                    });
                });
            });
            </script>';
        return $html;
    }

}
Now, open Command line in folder root of magento and run the below commands.
saveCopyzoom_out_mapphp bin/magento c:c
You will see color picker in a text field like the below screenshot.
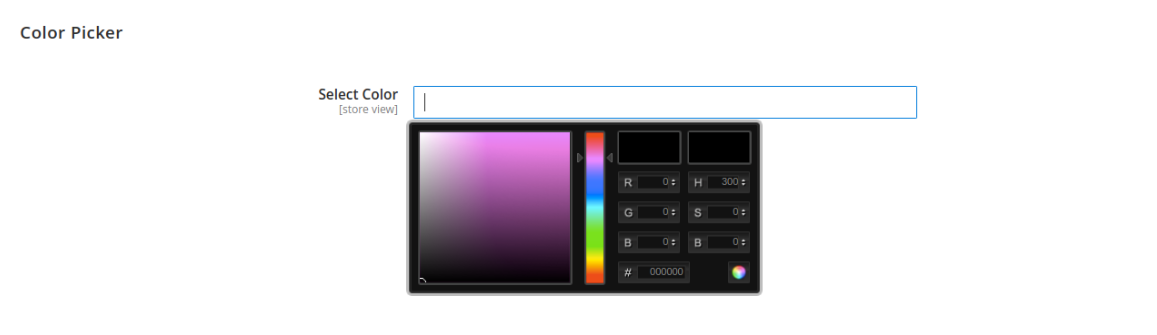
That’s it,
We hope this Magento post helped you to know How to Add Color Picker on Store Configuration in Magento 2. Bookmark it for your future reference. Do comment below if you have any other questions or doubts.
P.S: Do share this post with your team.
AI-Powered Recommended Articles
How to Add Date and Time Picker on Store Configuration in Magento 2
Add a date and time picker functionality to your Magento 2 store configuration fields for more precise input.
How to Add Custom Select/MultiSelect Options on Store Configuration in Magento 2
Learn how to add custom select and multiselect options to the store configuration in Magento 2.
How to Add Link on Store Configuration Fields Comment in Magento 2
Add links in the comments of Magento 2 store configuration fields for easier navigation and support.
How to Add Magento Ui Image Uploader on Store Configuration in Magento 2
Enable image uploads in the store configuration section of Magento 2 for a more versatile admin experience.
How to Add Dynamic Row on Store Configuration in Magento 2
Learn how to add dynamic rows to store configuration settings in Magento 2 for flexible content management.
Magento 2 - How to add Custom Fields in Custom Option Value
Learn how to add custom fields in custom option values for Magento 2 products to enhance product customization.